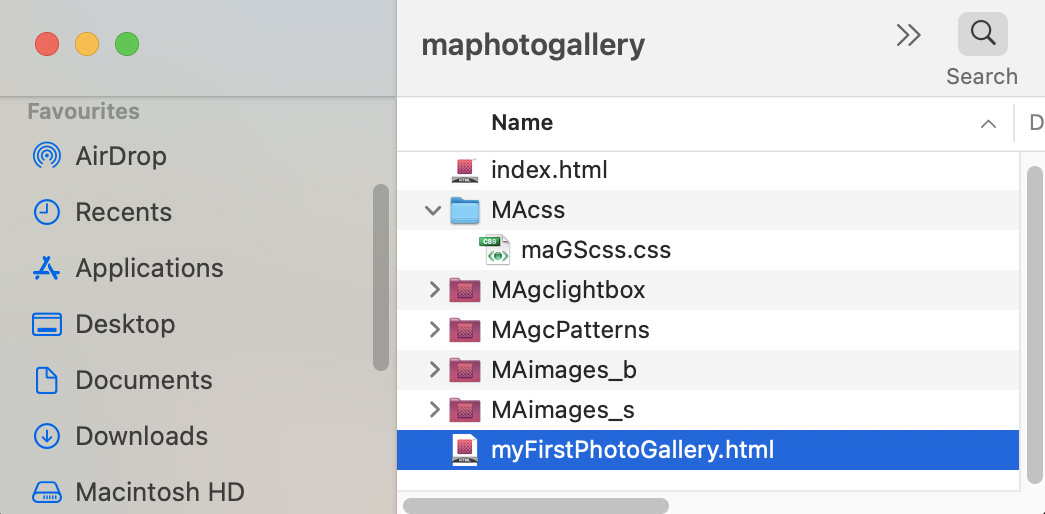
Once you created a "Photo Gallery" in maGalleryCreator you'll end up with a folder, containing a HTML file, CSS file and photos.
Step 1: Upload a copy of this folder to your proper webserver location
Step 2: Open the html file ("myFirstPhotoGallery.html" in our example) as plain text in a text editor
As you will notice all file paths to files located in that particular folder are relative paths.
We'll need to point them to your own webserver location.
Step 6: Save the file, we will need this file later.
2. Create a Blocs® project
Create a new Blocs project
Step 1: Start from an empty page template
Step 2: Add a header box
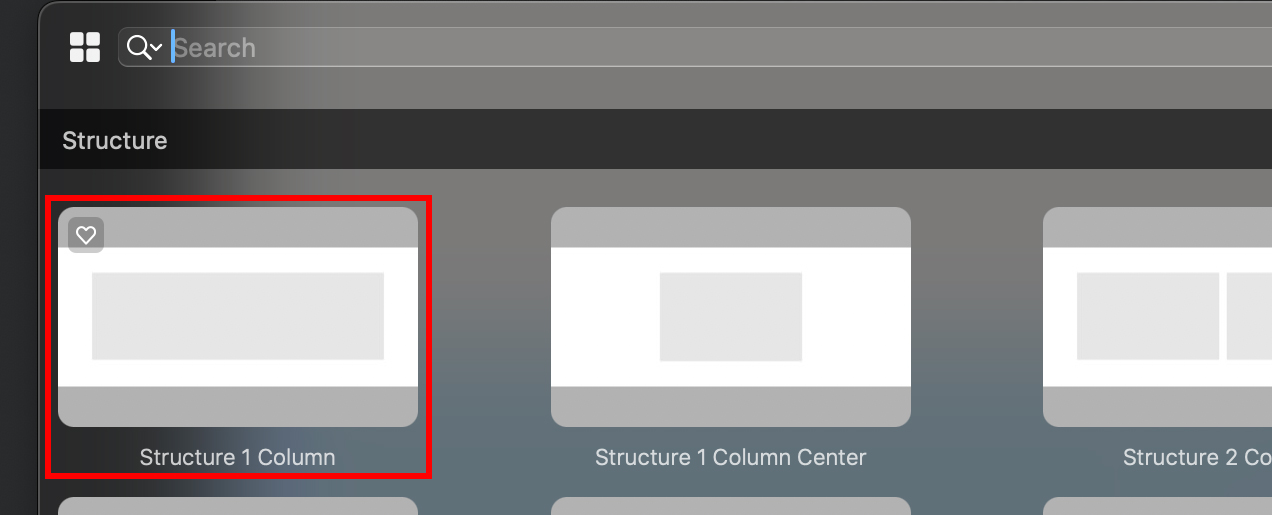
Step 3: Add a "body" box, that will contain the photo gallery: choose a 1 Column structure
Step 4: Add a footer box
Add a Class
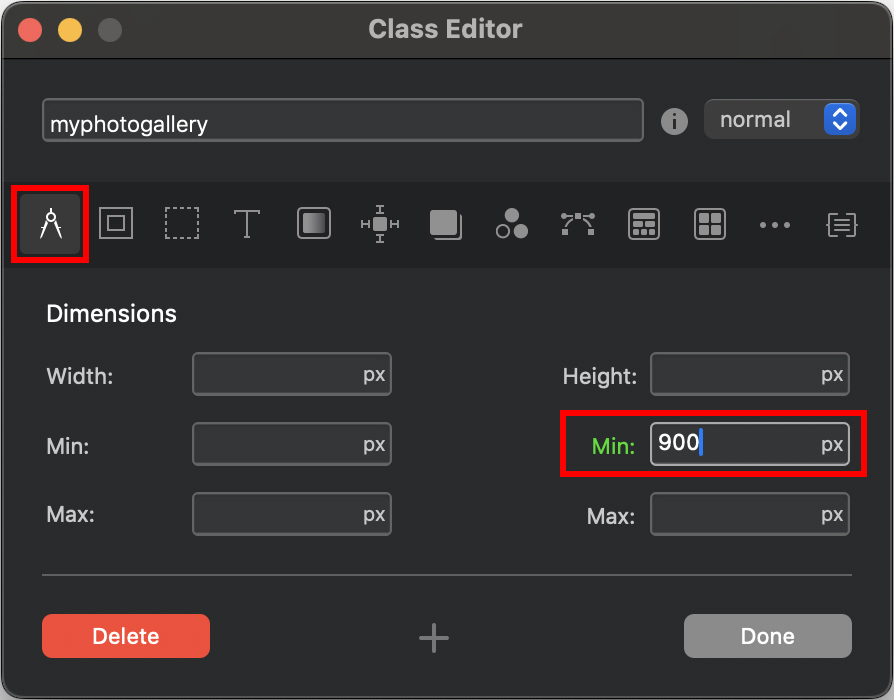
Step 5: Add a "Class" to the Container of the 1 Column structure in our case we called it: "myphotogallery"
Edit your custom Class
Step 6: Set minimum height, in our example: "900px"
Step 7: Set overflow: "Scroll"
3. Add the maGalleryCreator gallery
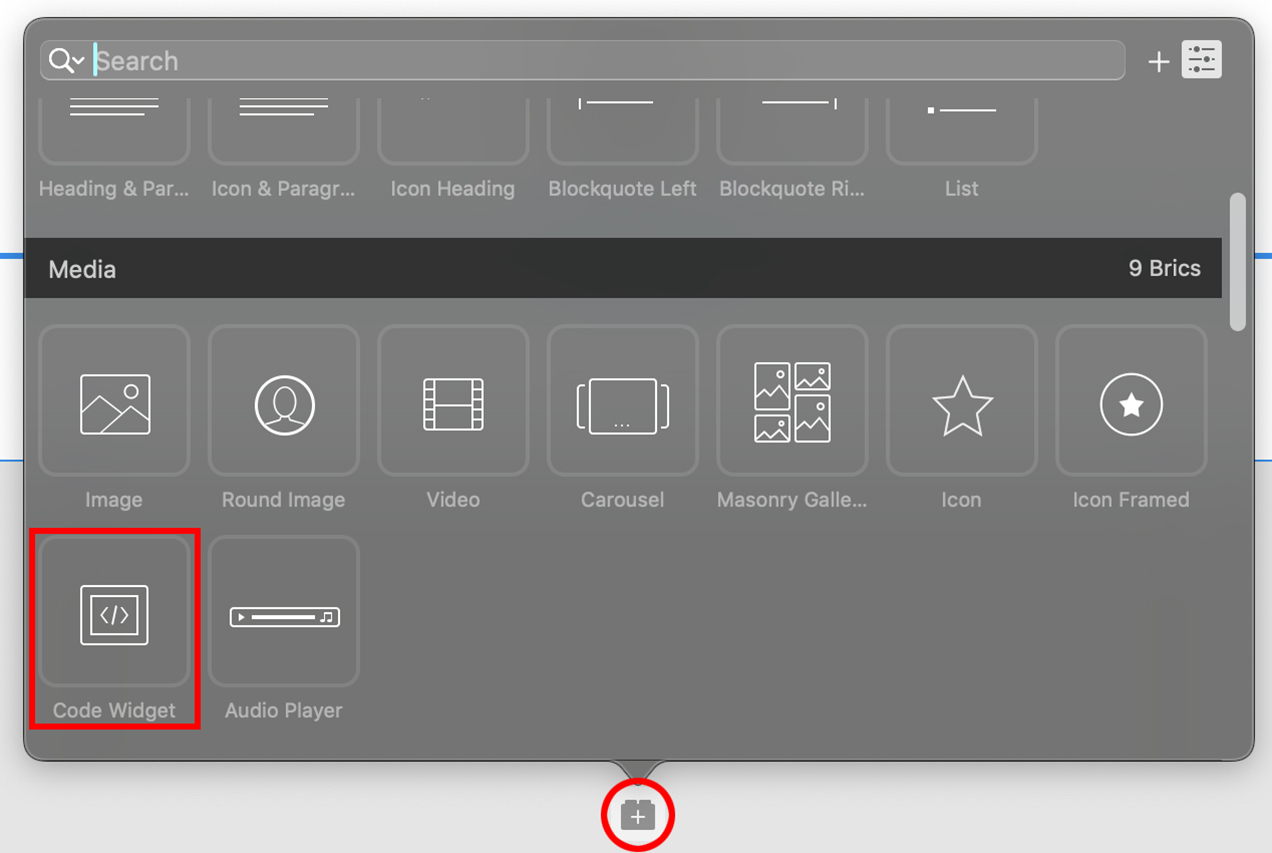
Add a "Code Widget"
Step 1: Add a "Code Widget" to your 1 column structure bloc
Step 2: Call the "Code Editor"
Step 3: Copy/paste the html code (the edited "myFirstPhotoGallery.html" in our example), the code between the "body" tags into the "Code Widget" window
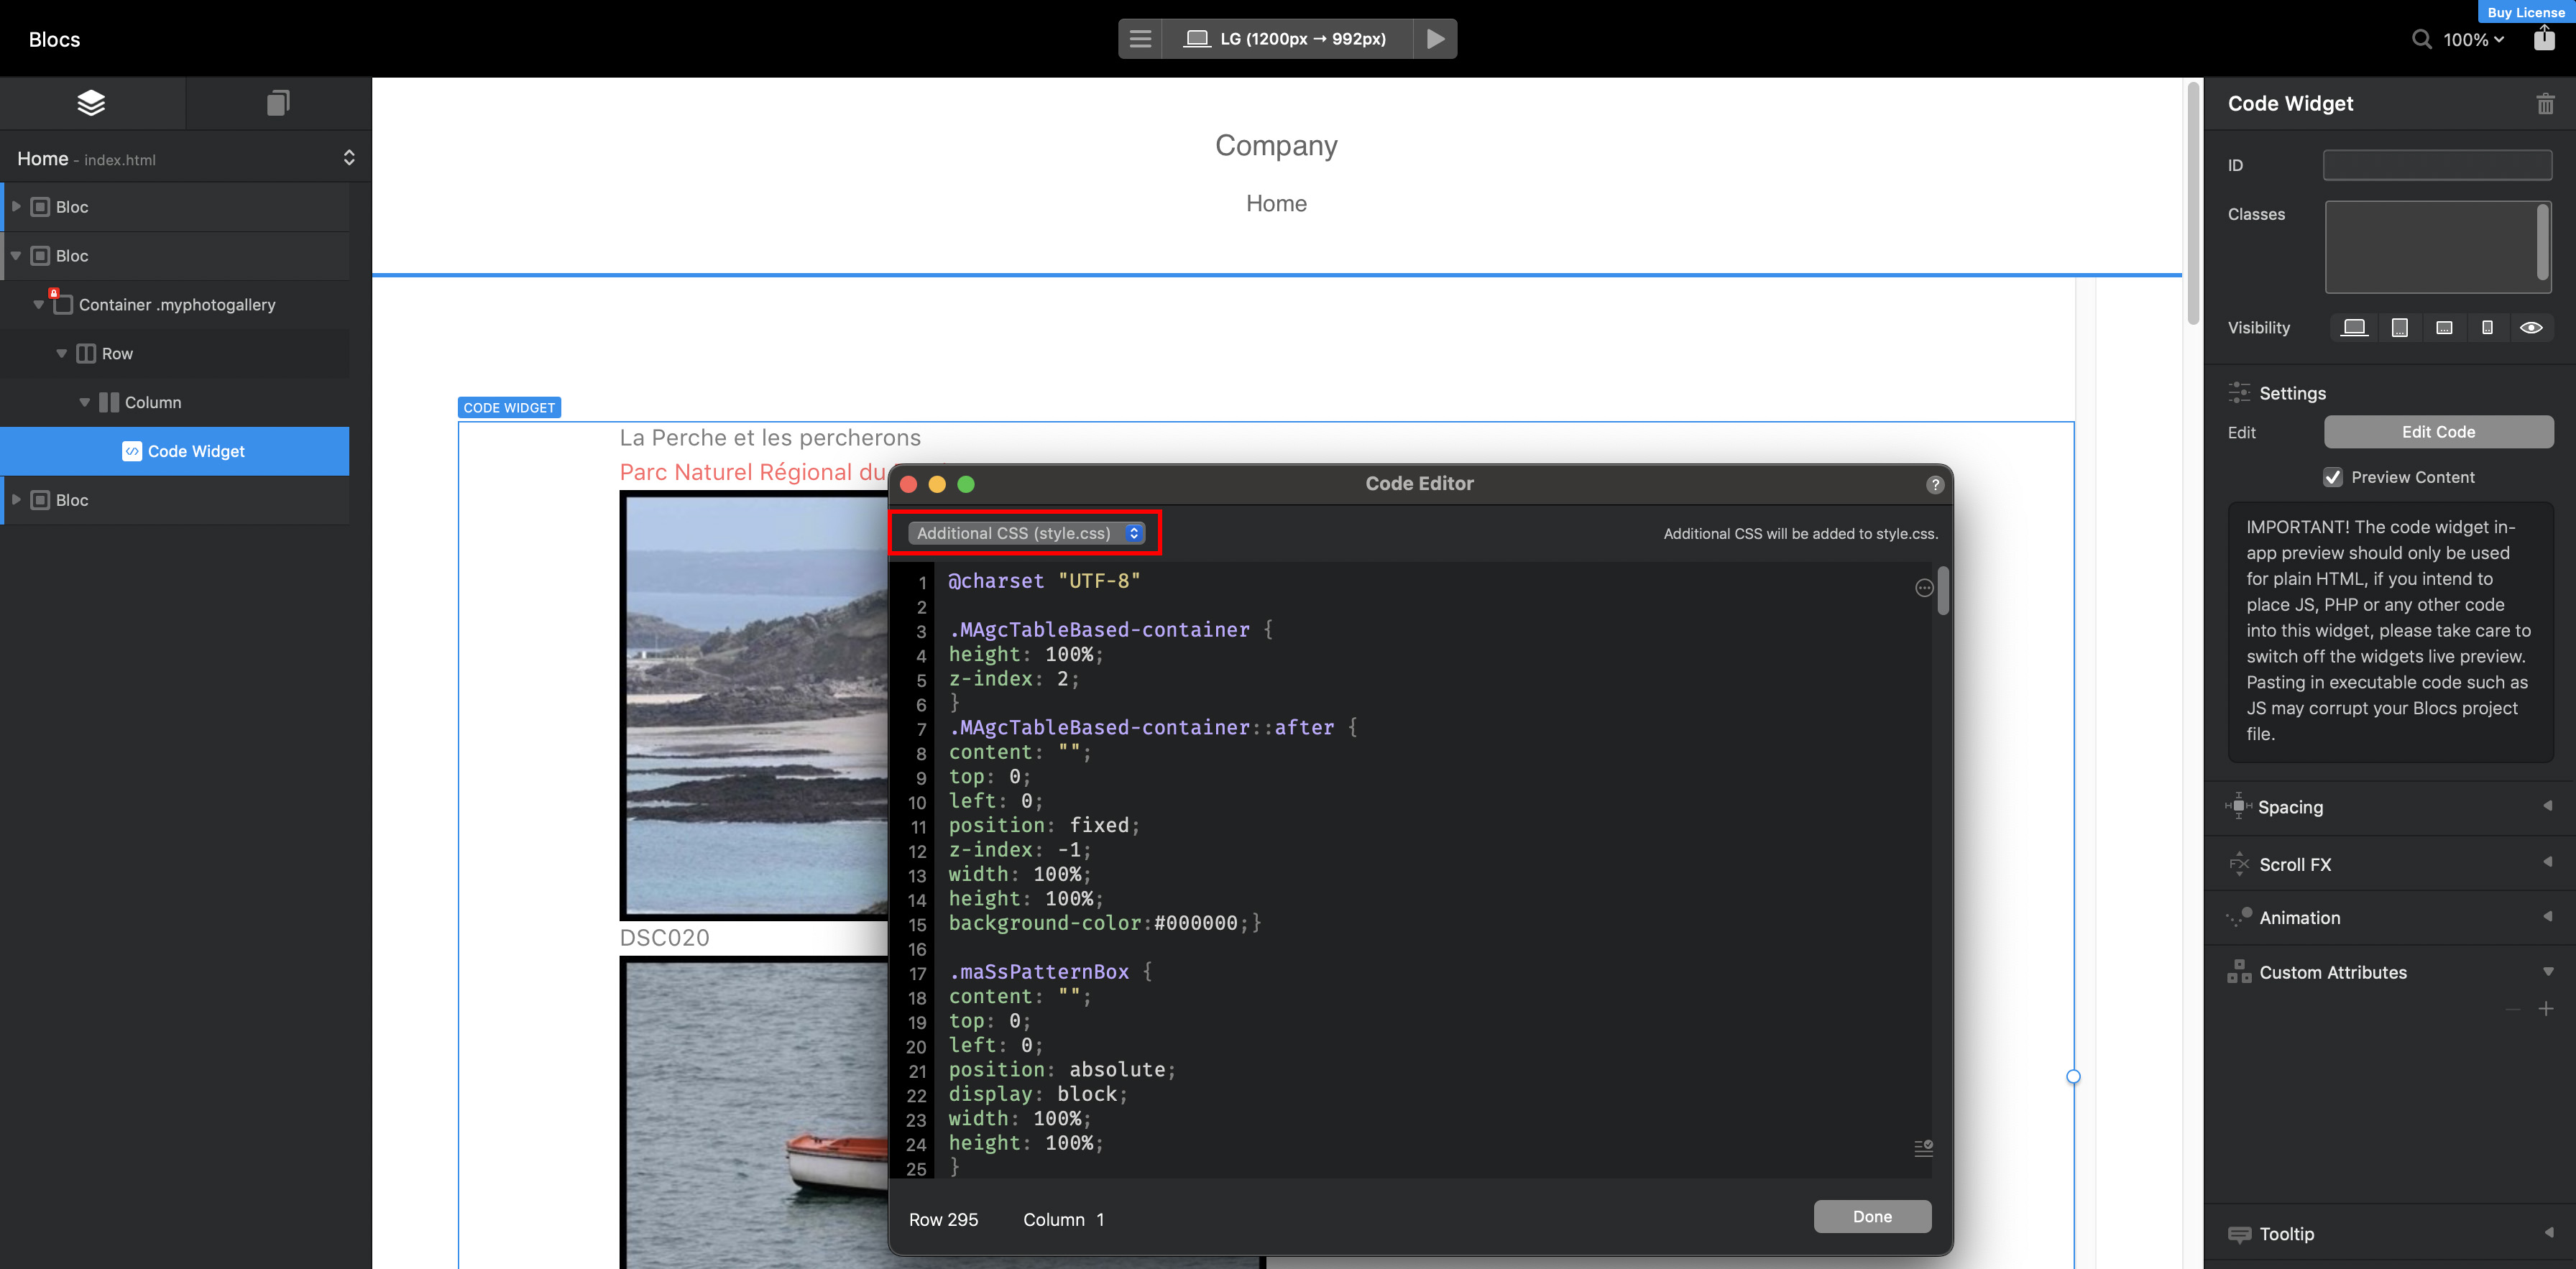
Step 4: Copy/paste the css code (generated by maGalleryCreator: "maGScss.css" in our example) into the "Additional CSS" window
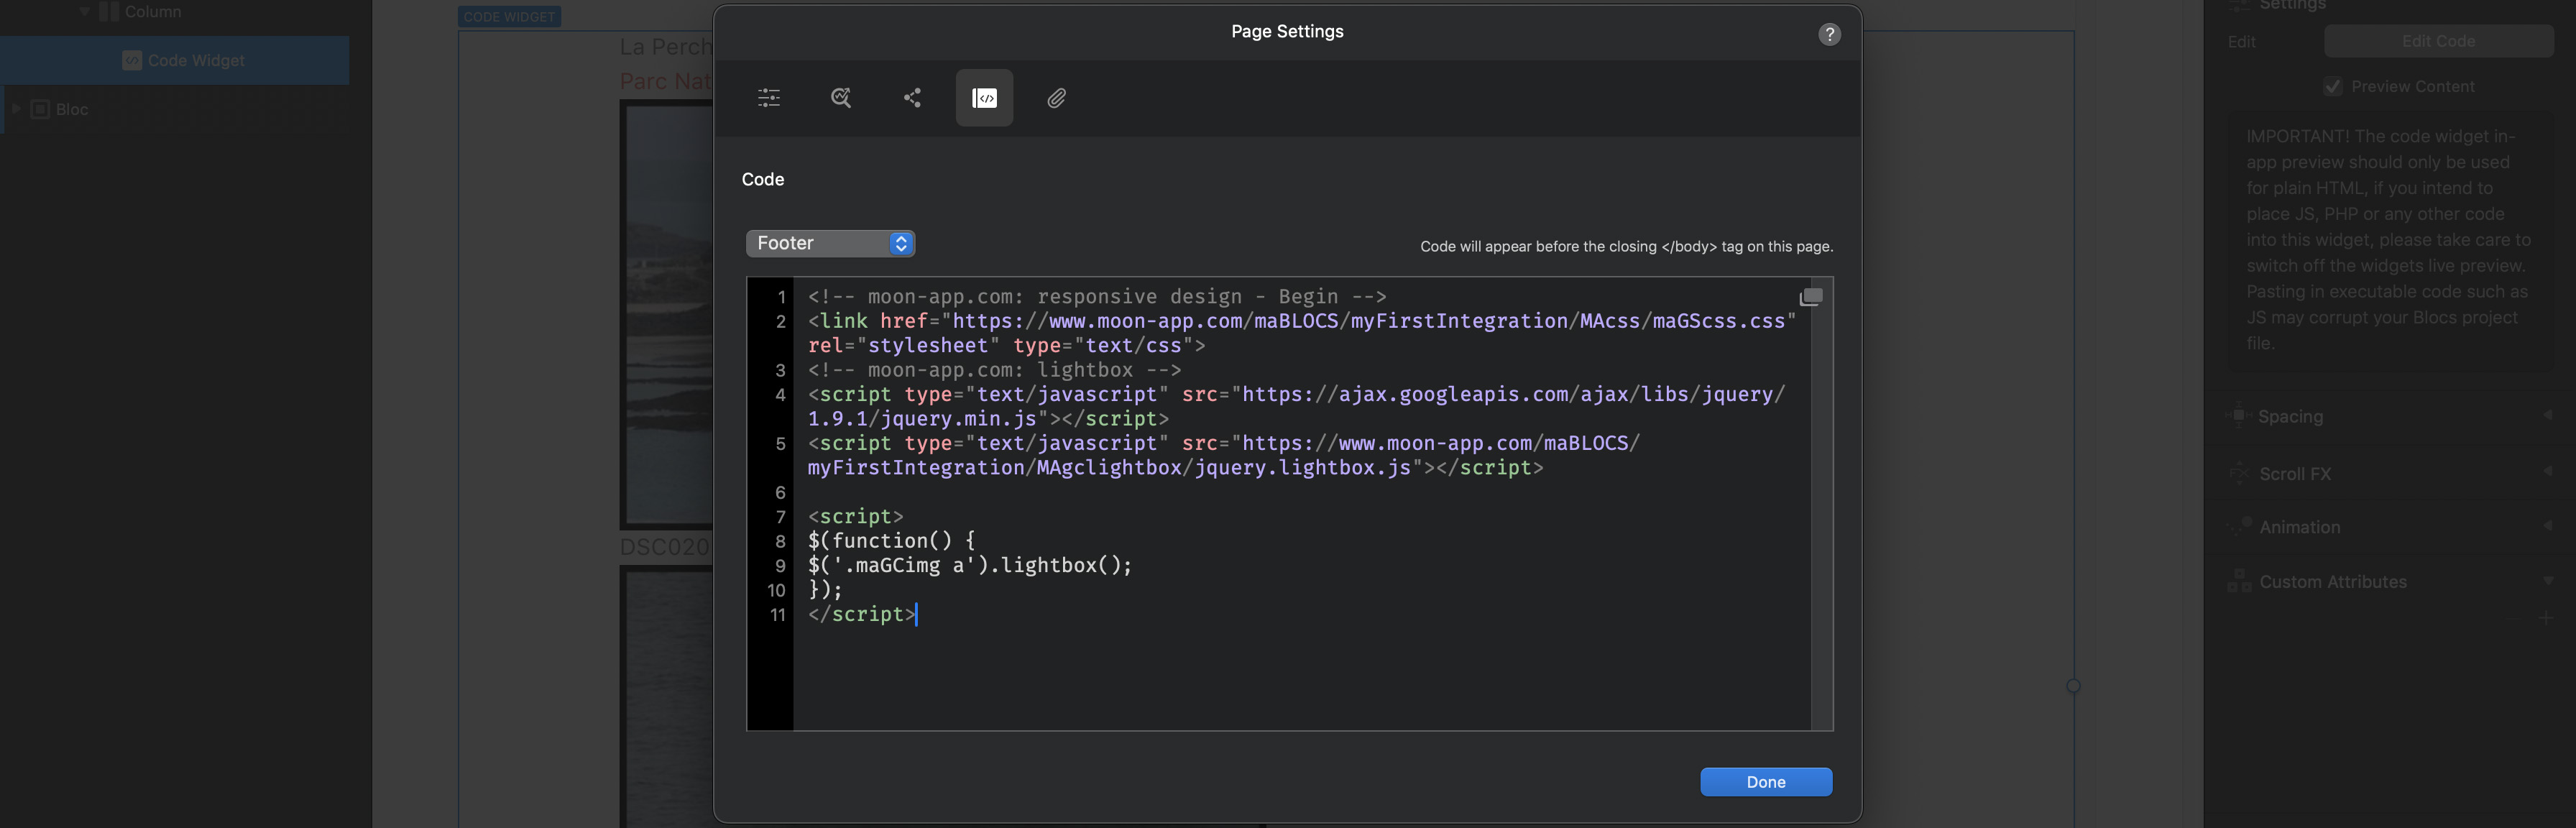
Step 5: Call the "Page settings"
Step 6: Select the "Footer" window
Step 7: Copy/paste the java code and all links to external scripts into the "Footer" window
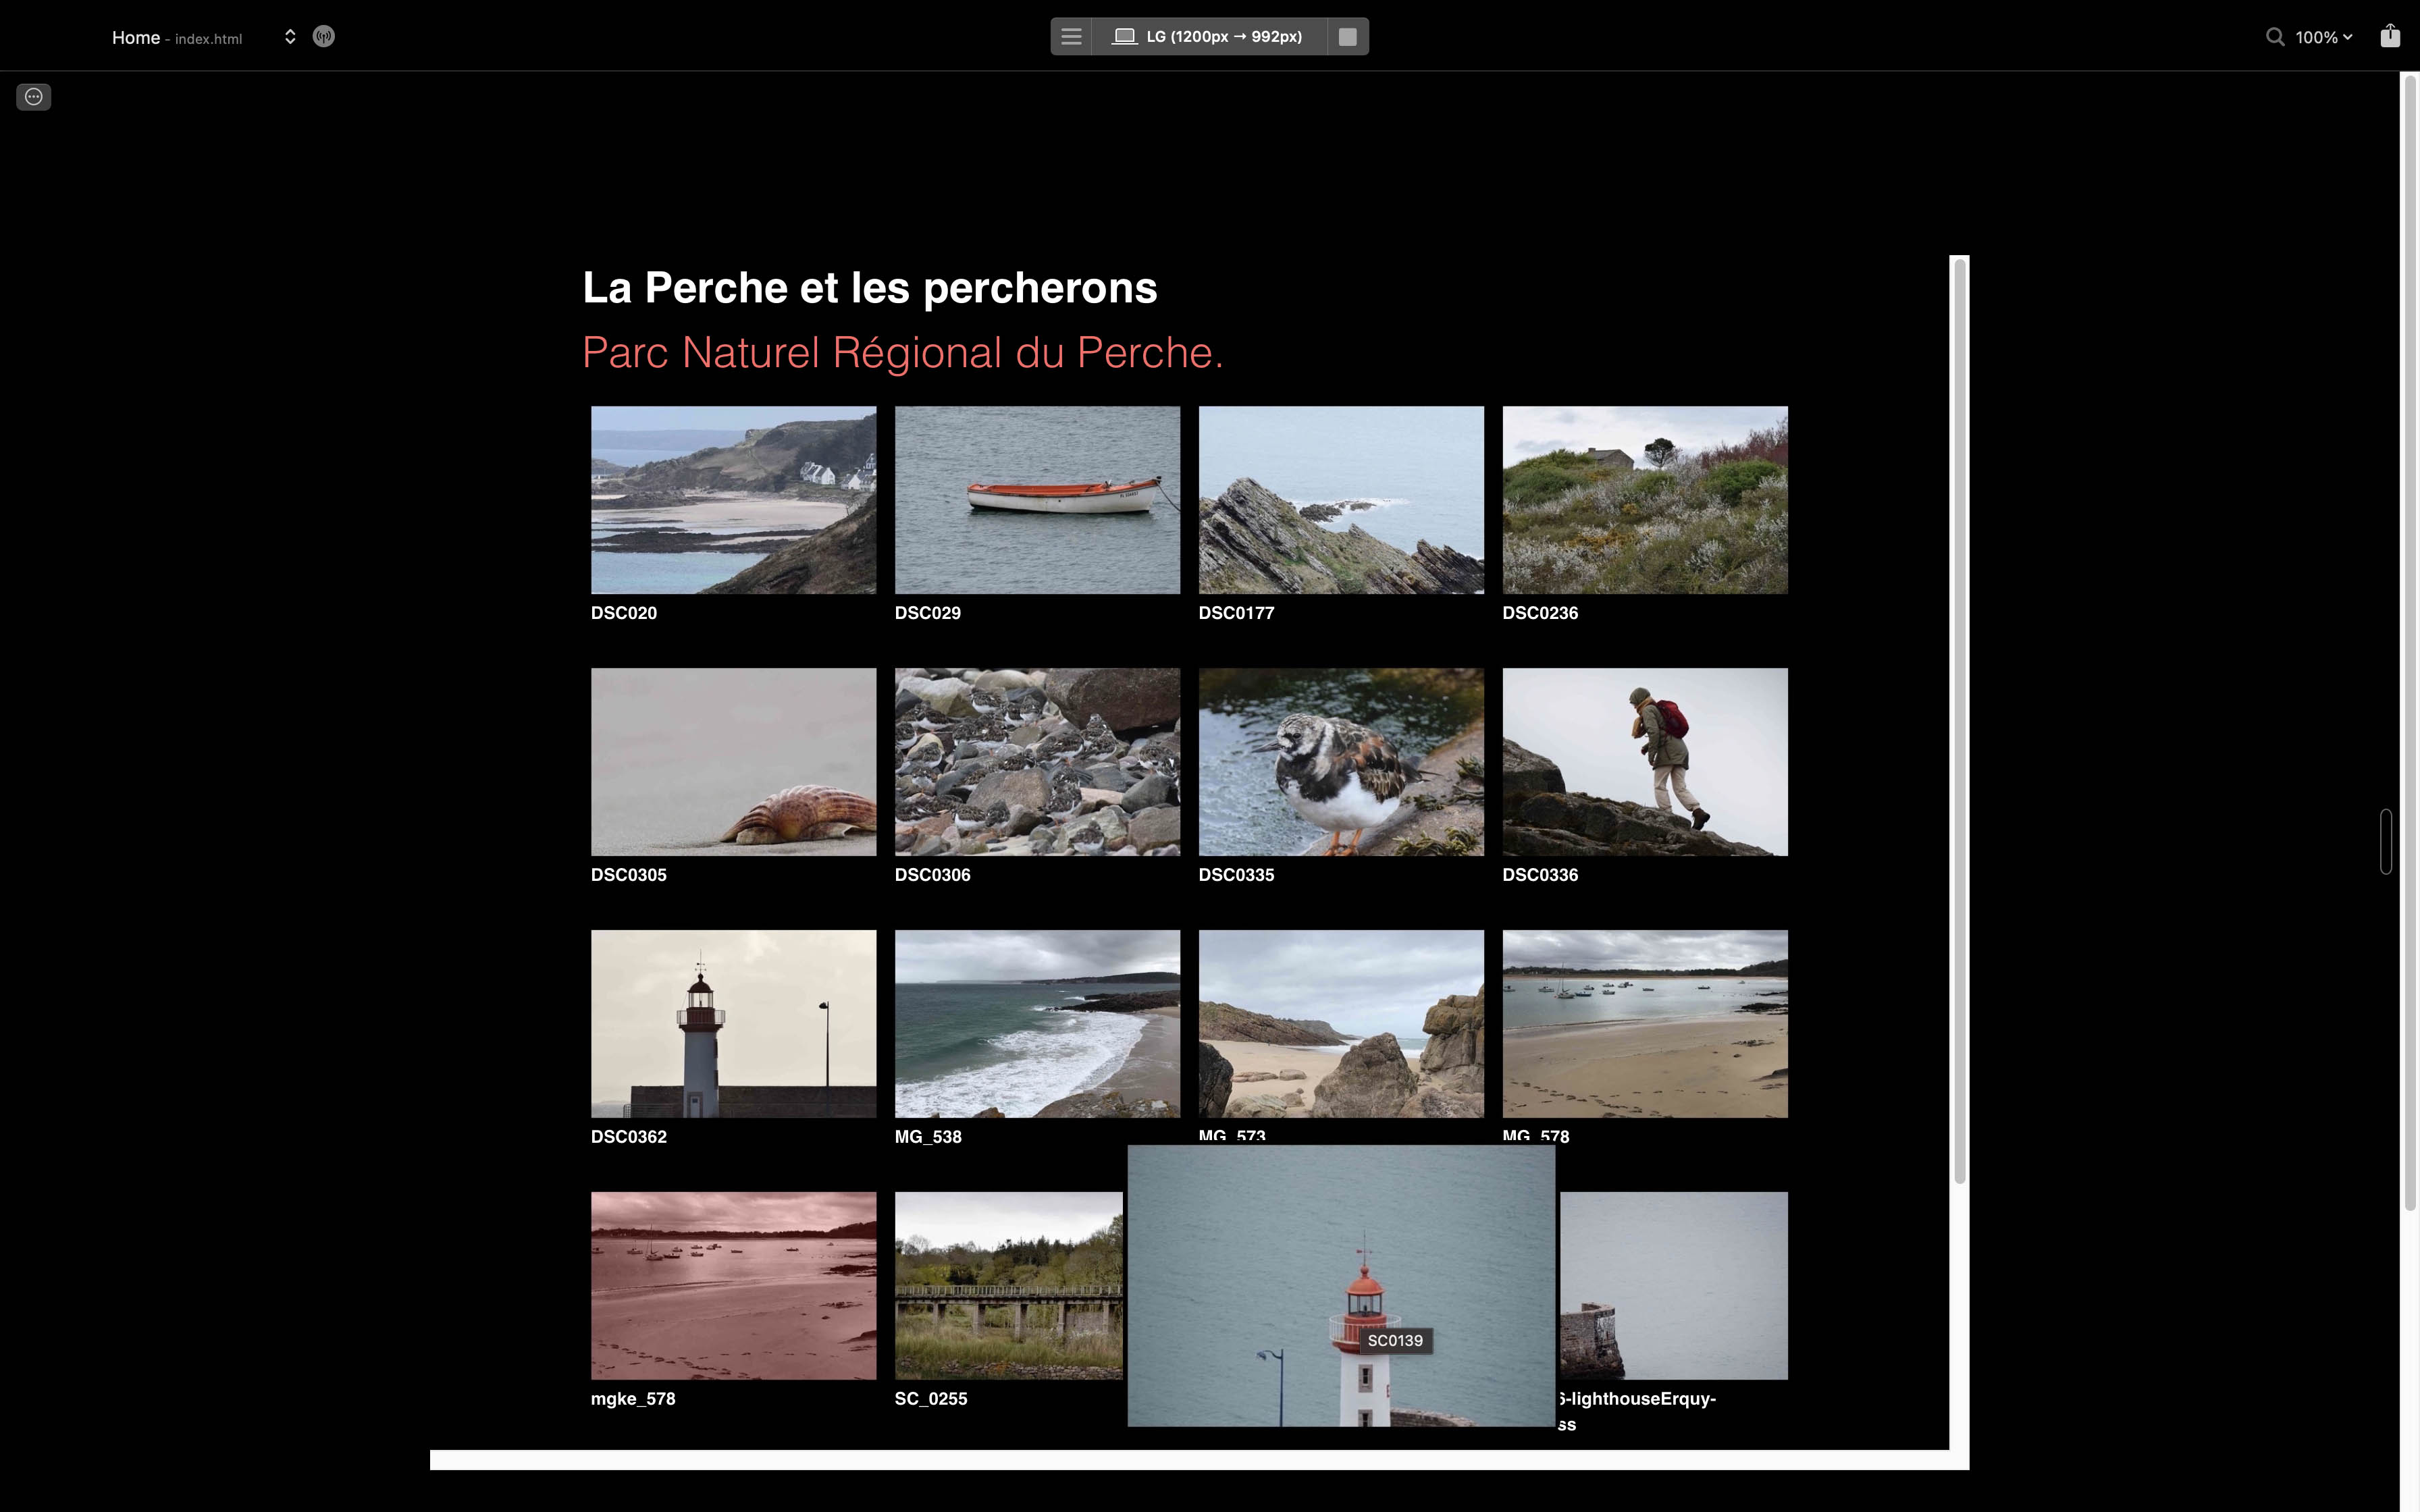
4. Preview
Show a preview
Step 1: Go to "View" menu
Step 2: Select "Preview mode"
Step 3: Hover the images, click a photo to open the lightbox.
Note: This tutorial is based on Blocs® 5 with the maGalleryCreator "Photo Gallery", template 1.